Wednesday, April 1, 2020

A Look at Shutter Speeds


A Look at Shutter Speeds

A few weeks back I looked at Apertures. This time I'm looking at shutter speeds. The range of apertures available depends on the lens you are using.  The range is to some extent, at least, dependent on how much you paid for the lens. Shutter speeds however, depend on the camera itself and you will have the same range for all lenses on that camera. One price controlled difference is that usually a more expensive camera will have a faster top shutter speed. Shutter speeds range from the fastest usually 1/8000 sec while less costly cameras fastest may be 1/1000 or 1/2000 sec. The slowest shutter speed built into the camera is, in most all cameras, 30 sec. In most cameras if you attempt to adjust the shutter speed to a speed longer than 30 sec your display will change to "bulb". The "bulb" speed will allow you to take exposures of any time length merely by pressing the shutter button down and holding it there. If you hold it down for 1 minute your shutter speed will be 1 minute. If you hold your shutter button down for a half-hour your shutter speed will be a half-hour. You can hold the shutter button down for any length of time. Since it is nearly impossible to hold the shutter button down without moving the camera (even on a tripod) most photographers use a remote shutter release. The remote can be connected by a wire or wireless and all remotes I have seen can be locked in the on position and will therefore not need to be held with your finger for long exposures. 

OK the above will give you an idea what range of shutter speeds to expect from your camera now let's look at what this means for the photos you take. In the manual mode longer shutter speeds mean a brighter image while faster speeds give a darker image. But let's make use of the cameras computer and set the camera to it's Shutter preferred mode. That's "S" on a Nikon and "Tv" on the canon. This mode will allow you to select any shutter speed up to 30 sec (bulb cannot be use in an automatic/semi-auto mode) your cameras computer will select both the aperture and/or ISO necessary to give you a normal exposure if that's possible. Usually a blinking number in your viewfinder will indicate that you have chosen a shutter speed which cannot be used in the current lighting or camera setting conditions.

Coming up a few photos taken at various shutter speeds to give you an idea of what kind of images you may create by using those different speeds.


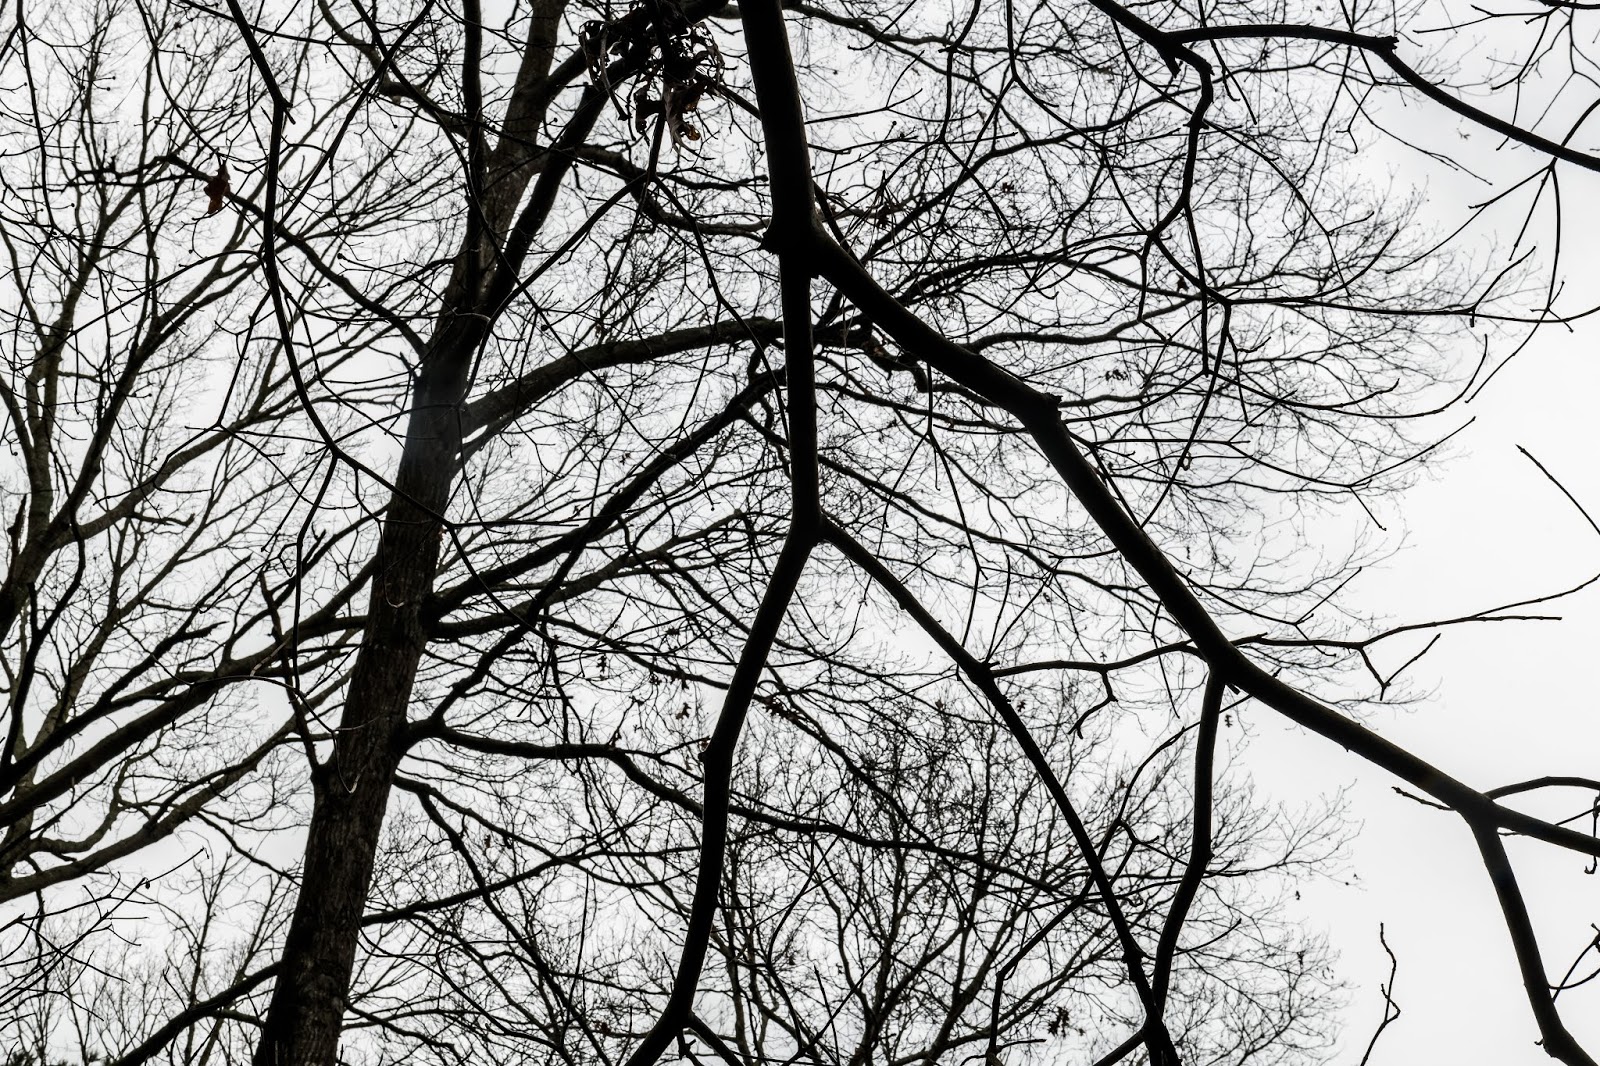
Wicomico River, a 30 Sec exposure creates a ghostly look to the water.
Road Lights: Here a 10 Sec exposure shows trails of auto tail lights. Taking shots of lights will frequently fool your camera's automatic exposure meter so this shot was taken in Manual mode. A couple of test shots were taken to get a good aperture for the final shot.


Missouri's Current River Beach: Here a 30 Sec exposure was taken at night with a full moon behind the camera giving the impression of a sun lit afternoon. While I can't see them in this size image. When viewed full-sized I could see a few stars in that blue sky.


A 1/500 sec shutter speed froze my grand daughter in mid run and the soccer ball in mid-air above her head.


Back to a slower speed, a 1 sec exposure gives this angel hair look to a beautiful small waterfall.

Another 1 sec exposure taken on my deck. After pressing the shutter button I quickly zoomed the lens giving me a motion looking blur.


Another shot taken on my deck this time using that "bulb" mode, mentioned above that can be any length at all. This one taken in the dark with just a little light coming through that window on the right. Was exposed by a small flashlight that I was carrying which I used to "paint" each of the chairs and each of the plants, and a little on the rug on the deck. I then closed the shutter and looked to see what I had gotten. The total time was 71 sec. It's all based on guess work and may take a few tries until you get a shot that you like.


Tuesday, March 31, 2020

A Lightroom Technique You May Not Have Tried


 Complexifying Light

Let's jump into this post with That word in the title you may never have heard before, complexify. It shows on my editing screen with a red underline indicating that the dictionary has never heard of it.  I have heard the word used only in it's current context which is photo editing. While you may not have heard the word before it is pretty easy to figure out. It means to make more complex or more completated.

The photo to the right was taken some time ago and is an HDR image. It is composed of 5 exposures from 2 stops under exposed to 2 stops over exposed. Using Photomatix I attempted to create an image that looked realistic and similar to the way it looked to my eye at the time it was taken. I did a series of images of the Salisbury Maryland downtown and this was just one of those images. I looked at this shot many times and always liked it and began experimenting with what, to me, was a new technique in Lightroom "complexifying light".

One of the tools available in Lightroom on the Tool Strip at the top of the Adjustment Panel just above the "Basic" heading on the right side of the screen is the Radial Filter, the fifth tool which has the symbol of a plain circle. If your histogram is displayed, the Tool Strip is just below it.
In the Develop Module click on that Radial Filter then point to anywhere on the photo you are editing (for convenience, not too close to the edge) then press and hold the left mouse button and drag the mouse pointer diagonally. A circle or oval will appear. When you let go of the mouse button the circle, or oval that you have created will remain. One other thing that happens is the menu on the right appears at the top of the menu area on your screen. There is a group of 16 sliders that will look familiar to Lightroom users since all those sliders also appear in the Basic adjustments panel which has been temporarily moved down and now appears below the Radial Filter control sliders panel.

All of these controls work in the Radial Filter panel in the same way they work in the Basic Panel but they affect all areas of the image except what is inside the shape that you have created with the Radial Filter tool. In our current example we would like to control only what is inside the shape you have created and not the rest of the image. Near the bottom of this panel you will see a check-box in front of the word "Invert". Clicking the there will place a check-mark in the box and now any sliders you adjust will affect only what is inside your shape, not outside.

The slider above the Invert check-box, labeled "Feather" makes the change from the outside of your shape to the inside occur more gradually. Most of the time you would like the change to be gradual so try setting the Feather control to somewhere between 50 and 100 (I usually stay at or near 100).
Now, let's complexify the light. One way is to start by darkening the entire photo with the exposure slider moved to the left between 1/2 and 1 stop. Now look at your photo and find an area that is just a little brighter than the areas around it. Using the Radial Filter tool, click in the center of that brighter area and drag the mouse and maneuver it so that the entire brighter area is inside the shape you've created. Let go of the mouse button and adjust the Exposure slider to make your slightly brighter area to be just a little brighter than is was.

You have now complexified the lighting by making one area more different from it's surroundings than it was before you started. The lighting is "more different", therefore "more complex". Now select other slightly brighter areas and make them also brighter than they were. The difference should be subtle not obvious. Next we'll do the same process but, this time by selecting areas that are slightly darker and making them even more darker. You will have increased the contrast of the image but not everywhere, just in the places you have selected.

If you have been careful and made just small adjustments your image should now have more "pop".
If you start by darkening the image quite a bit darker and selecting and brightening  areas that would be lit at night you may be able to create a shot that looks like it was taken at night. This shot was taken in the afternoon of a cloudy rainy day which really helped by creating the reflections on the street.

Many adjustments can be made either inside or outside the oval you have created and you can make as many ovals as you'd like. You can adjust each one as you create it and make each one lighter or darker or make any other changes that are available in the sixteen sliders. You may want to search for instructions on the Radial Filter where you will find many more ideas for it's use.


Monday, March 23, 2020

A Look at Aperture

A Look at Aperture

I have not posted any new entries in this blog since 2014 but in our current pandemic state it's time for me to get my mind on something else and give any possible readers an opportunity to do likewise.

Since I've titled this "A Look at Aperture" let's start by seeing what aperture looks like. The word aperture literally means "hole", an opening. In a camera the aperture is behind the lens and back in the days of manual lenses you could look through the lens and see the aperture and it would look something like one of the following.


When the lens is wide open (in this example labeled f/2.8) it is letting in all the light possible for that lens. When the lens is what we call "stopped down" it looks more like the image labeled f/22 and is letting in the least amount of light possible for this lens. Modern lenses stay wide open all the time except for the exact instant when the photo is taken which allows the image in your viewfinder on a DSLR to be as bright as possible when you are looking through it, but it prevents you from seeing what the aperture adjustments look like.

Now that we have all that out-of-the-way lets look at what happens to the image when you adjust that aperture. As I was sitting in my yard the other day, I looked up and saw the view below. I was looking through the limbs of a small Dogwood tree and seeing a large Oak in the background I got my camera and set it in the "A" mode (aperture preferred) which allows us to set any aperture we would like and then automatically adjusts the shutter speed to give us a good exposure. I set the aperture for f/22, that very small "hole" in the graphic above and got the first image.

Then sitting in the same spot I adjusted my aperture to it's largest opening which on the lens I was using is f/2.8 and look what happened. The small aperture had kept most of the image in focus so the close Dogwood and distant Oak both look quite sharp but the shot taken with the lens wide open, below created a very different effect. I was focused on the close Dogwood and the distant Oak is not in focus. Large apertures (which are the smaller numbers like 2.8) do not keep as much of the image in focus. What ever you have focused on (in this case the closer Dogwood) will be in focus, but anything closer or farther away will not be as sharp. In this case the smaller branches of the Oak blurred enough to disappear from the image while the trunk and larger branches are still visible but are not at all sharp.

This is the same effect photographers can take advantage of when shooting portraits. They will use a large aperture and focus on the eyes of the subject and the background (like the Oak tree) will be very unsharp which will cause their subject, still very sharp (like the Dogwood), to attract the viewers attention while making the blurry background seem unimportant and almost un-noticeable.

Your camera in it's fully automatic mode would most likely have given you the first image. There is nothing wrong with that photo but you could have created the second one if that's what you preferred. The difference is you can get what the camera gives you or what you would like. This is why so mucy time is spent in photo "how to" articles trying to get you out of the "automatic" mode. In this example I have used the "A" (aperture preferred) mode which is a semi-automatic mode which will get you a good exposure automatically, but allow you to pick the aperture that will create a look that you prefer.


Thursday, March 27, 2014

HDR or RAW?

 The two images you see here are very similar. If you look very carefully the photo below has more detail in the front doors than the one to the left. If I keep looking at larger versions of the two I would probably find other places where a difference was visible. Still if I decided to print one very few people would be likely to notice much difference. The image below is HDR created from 5 separate exposures while the image to the left is is the middle exposure of the 5 adjusted in Lightroom.
Below is the Basic Panel in the Lightroom Develop Module. All of the horizontal sliders start in the middle with the exception of the first two which are automatically set to the white balance as the shot comes from the camera. So if you have set the white balance or if the camera has done it for you in the automatic mode that is how it is set. You may change it if you like but in this case I left it as it was. I did think the image was a little too bright so I adjusted the exposure by minus about 1/3 of a stop, which is the -0.36 you see.
The contrast slider was not moved at all and remains at zero. The next four sliders were where most of the work took place. Here I usually start from the bottom up with the Blacks slider. Hold the Alt key down and when you press the left mouse button on the slider the image turns solid white. Slide the Blacks slider to the left until tiny bits of black or color start to appear and then stop.

Use the same procedure for the White slider. When you hold the Alt key and press the left mouse button on the slider the image turns solid black. This time you will slide the slider to the right until tiny bits of white or color appear and then stop this control. You have now expanded the tones of the image so that you have pixels that are as black as possible and some that are pure white.

The next control is Shadows and for this no Alt key is used. As you slide the control to the right darker areas of the image lighten and as you can see I slid it as far as it would go for this shot.

The Highlight slider when slid to the left darkens only the brightest areas and here I again went all the way, this time to the left.

As I was making these edits I was comparing them to the HDR image I had created first and was attempting to make it as close as possible to that image. You would not be able to do this with all HDR images. The light to dark contrast in this image was not extreme to start with and the HDR image was adjusted to look realistic. HDR software can bend the tones of an image so that normal editing could not possibly duplicated. Most HDR users prefer to keep the images looking realistic. I sometimes go for an extreme look.

The HDR image was created from five images processed in Photomatix and the editing of the single image was done in Lightroom 5. Photoshop or Photoshop Elements and many others could have been used. In these editors the Levels control takes care of the Whites/Blacks settings and the Image>Adjustments>Shadows/Highlights does what the separate Shadows and Highlights control does here.

One thing to note is that the original image was RAW. RAW images contain much more tonal information than JPEG images and give you more range in the slider adjustment in both Lightroom and other editors.

As usual please comment, and questions are welcome.

Monday, February 17, 2014

Background Lighting Trick


First I do have a simple studio in my basement but what I've done here is a shortcut to a quick shot. We have some chairs we wanted to list on a local "furniture for sale" site and my wife asked me to get a shot of one of the chairs. The chair was already downstairs so I moved it to the studio end of the basement. I had just purchased an inexpensive flash diffuser, shown here, which I was experimenting with and it happened to be on the camera at the time. In my camera's program mode I just took a shot and this is what I got. The chair is sitting on a concrete floor and the painted concrete block wall is visible behind it. OK it shows the chair but this is my studio and I wanted a little better than this. Of course I didn't like the shadows either.
Sitting against the concrete block wall is a background stand that at the moment had a roll of black "seamless" on it (that's the wide roll of paper photographers use to create a smooth background). I wanted a white background but didn't want to take the time to change paper rolls so I was back to my grey painted wall. I pulled the chair a little farther away from the wall took my camera out of the program mode. My Nikon D700 will sync at 1/250th of a sec. but I set the camera at 1/200th to be on the safe side. I set the aperture at f/8 kicked up the ISO since I wasn't going to get much light from the new diffuser and fired a test, opened up to f/5.6 and shot again, not bad. The photo was pretty much back where I had started but in a manual mode. I have a small flash which is usually on a light stand with a 6 foot arm that will allow me to light from above. That flash has a sync which fires it when another flash goes off. Since it had no diffuser it was going to be a lot brighter than the flash on my camera. I raised it up and pointed it down aimed at the bottom of the wall. and set pretty low. Pop! 
The wall and the floor were over lit so there is no detail and no shadows. The grey wall and grey floor have turned bright white which is what I wanted. The shot you see here is what I got. If you want to set up a studio, an under lit background can be black, while the same background over lit becomes white, and lit normally it will look like what it really is. Don't start by spending a lot on backgrounds. I've collected quite a few over the years including black, white, blue, and grey paper. A grey/blue dyed wrinkled old bed sheet, and a grey painted 20' x 20' muslin drop usually used for shots of ballerinas who tend to spread arms and legs far enough to reach outside the limits of my 10' backgrounds.

Look again at the final photo for a moment. There is no visible bottom of the wall or edge of the floor. This is the effect that photographers get by using a roll of white "seamless" and pulling it down so that it curves smoothly and covers the wall behind and the floor under the item (or person) to be photographed. Here, just over lighting the background and spilling that light on to the floor I have created the effect of seamless in an unfinished basement.

Comments and questions of course are welcome.


Sunday, January 5, 2014

Photoshop Lightroom 5

The potential results of a combination of Lightroom 5 and a RAW image is nearly unbelievable.

Here is the original shot as it came from the camera, almost. The only edit was to straighten the horizon which was just a tiny bit tilted when I shot it. I shot using Aperture Preferred at f/11. What I wanted was a depth of field that would keep the image sharp from the grasses in the foreground to the horizon in the distance. f/11 would do that without causing diffraction problems. Stopping your lens down to it's smallest aperture (largest number) can create a lack of sharpness while a stop or so open from the smallest opening will allow a great depth of field without adding its own problems.

In one post I will not be able to do justice to what has happened in Lightroom but I will be able to give you an idea of what it is capable of and how easy it is to use. Look at the image to the left. First I'll go through the Basic Panel edits. No adjustments were made to the White Balance as it look good. The entire image looked a little over exposed so the exposure was dropped about 1/10 of a stop. Contrast was not adjusted. Highlights would normally be slid toward the left but because of a later adjustment were moved to +100. Shadows were left at 0. The White Slider was moved up to +62 to expand the brightness of the whites and the Black Slider to -62 to increase the richness of the deeper colors. The fact that those numbers are the same is purely coincidental. By holding the ALT key with the White Slider the screen turns black and the slider was pushed until the first specks of white appeared. Likewise holding the ALT key with the Black slider the screen turns white and the slider was pushed left until a few small areas of black appeared in the shadows along the edge of the grasses.


In the bottom section of the Basic Panel labeled Presence the Clarity was increased to +12 which enhances the apparent sharpness in the mid range of tones and gives the photo more "punch". The colors were somewhat flat and sliding the Vibrance Slicer right to +33 solved that problem. I don't often use the Saturation slider and didn't here.

Just above the Basic Panel is a small toolbar from which I selected the vertical rectangle which is the Graduated Filter. The mouse pointer becomes a small cross which I moved to just above the horizon line about 1/2 inch and click ad dragged it straight down until it was about 1/2 below the horizon. Any adjustments made now affect only the area above the horizon. A new series of sliders appear and I moved the exposure slicer to - 1.5 stops to darken and enrich the sky and clouds.

This created a new problem. Since some of the grasses are above the horizon line they also got darkened and did not look realistic. This time from the toolbar I selected the last tool to the right, the Adjustment Brush. With it I painted the grass area that had been over darkened and with the sliders which appeared above the Basic Panel I adjusted the Exposure to + 1.5 stops which undid the unwanted -1.5 stops that was done by the Graduated Filter.

In this image no Tone Curve, HSL, or Split Toning were applied. Frequently HSL is a great help to the sky but we'll save that for another post.

In the Detail Panel only two adjustments were made. The amount was moved to 75 and the Luminance was set to 50. One final adjustment, which I usually make first, is in the Lens Correction panel. Place a check-mark in the Enable Profile Corrections box and one in the Remove Chromatic Aberration box.

That's it! The total time was less than 10 min. probably closer to 5. Of course it will take longer the first few times but I hope you like the looks of the corrections. I did go even further and in a later post I'll pick up where I left off and make a few more changes.

Comments and questions are welcome as always.


Friday, December 27, 2013

Explosive Photo Editing

With a combination of camera features, lens choice, lots of practice, and more than a modicum of good luck I got the shot to the right. To freeze that ball I used an ISO of 3200 which on the Nikon D700 has a reasonable noise level. I had the camera set for A (aperture preferred) with the aperture set wide open at f/2.8 giving me a shutter speed of 1/6400 sec.

For the explosive photo editing to come, freezing the ball is not required but that and the fact that I caught the ball in the very center of the shot is what led me to us the method that follows. If the ball had been just a few inches higher or my granddaughters bat had been a smidgen lower she might have actually hit the thing, but were talking photography her not scores and she has hit many of those bright yellow-green softballs.

I've talked about Lightroom several times in this blog but the technique described here cannot be done in that application. What we are about to look into requires layers and Lightroom does not allow working on layers. The photo was actually edited in Photoshop but the exact same steps are available in Photoshop Elements and they work the same way and just as well. One difference is that the Photoshop version was processed in 16 bit mode and the Elements version had to be reduced to 8 bit mode to complete the steps. I may need to get back to this bit depth later but for now I'll just mention that almost everything you do with an image is done with an 8 bit version. Larger bit depths help during the editing phase.

The first step is with the original image and it can be done in Lightroom or any other editing program. I cropped the photo to the square shape putting the ball in the center and made minor adjustments to the brightness, sharpness, contrast, and vibrance.

Once I liked the original image I moved to Photoshop and copied the background layer. Now I had two identical layers, one on top the other and I was ready to start. At this point in either of the Photoshop programs select the Background copy layer if necessary, then from the menu at the top of the screen choose Filter>Blur>Radial Blur. A small window will pop up. First choose the Blur Method by clicking on Zoom. Under Quality select Good and at the top move the amount slider to about 60. Note that there is no preview of the blur just a graphic representation of how much stretching can be expected. Click OK and the blur will be applied to the entire image including your subject. At the bottom of the Layers Pallet (top in Elements) click on the "Add Layer Mask" the little rectangle with the circle in the center. A White square appears along side the thumbnail image on the background copy layer which is the blurred layer. Click on the white square then press the letter "b" on the keyboard which will select the Brush tool. Hold the Brush over the ball and adjust the size by pressing the right bracket key "]" to make it larger or the left bracket "[" to make it smaller until it's the width of the bat or the size of the ball and click and drag the brush over the areas of the image you wish to be sharp. Note that I have painted over the ball, bat, face, and part of the arms of my subject. When the photo looks like you want it to your finished. Above is my "Explosive" result.

I hope this works for you, Comments and questions are welcome.