
Complexifying Light
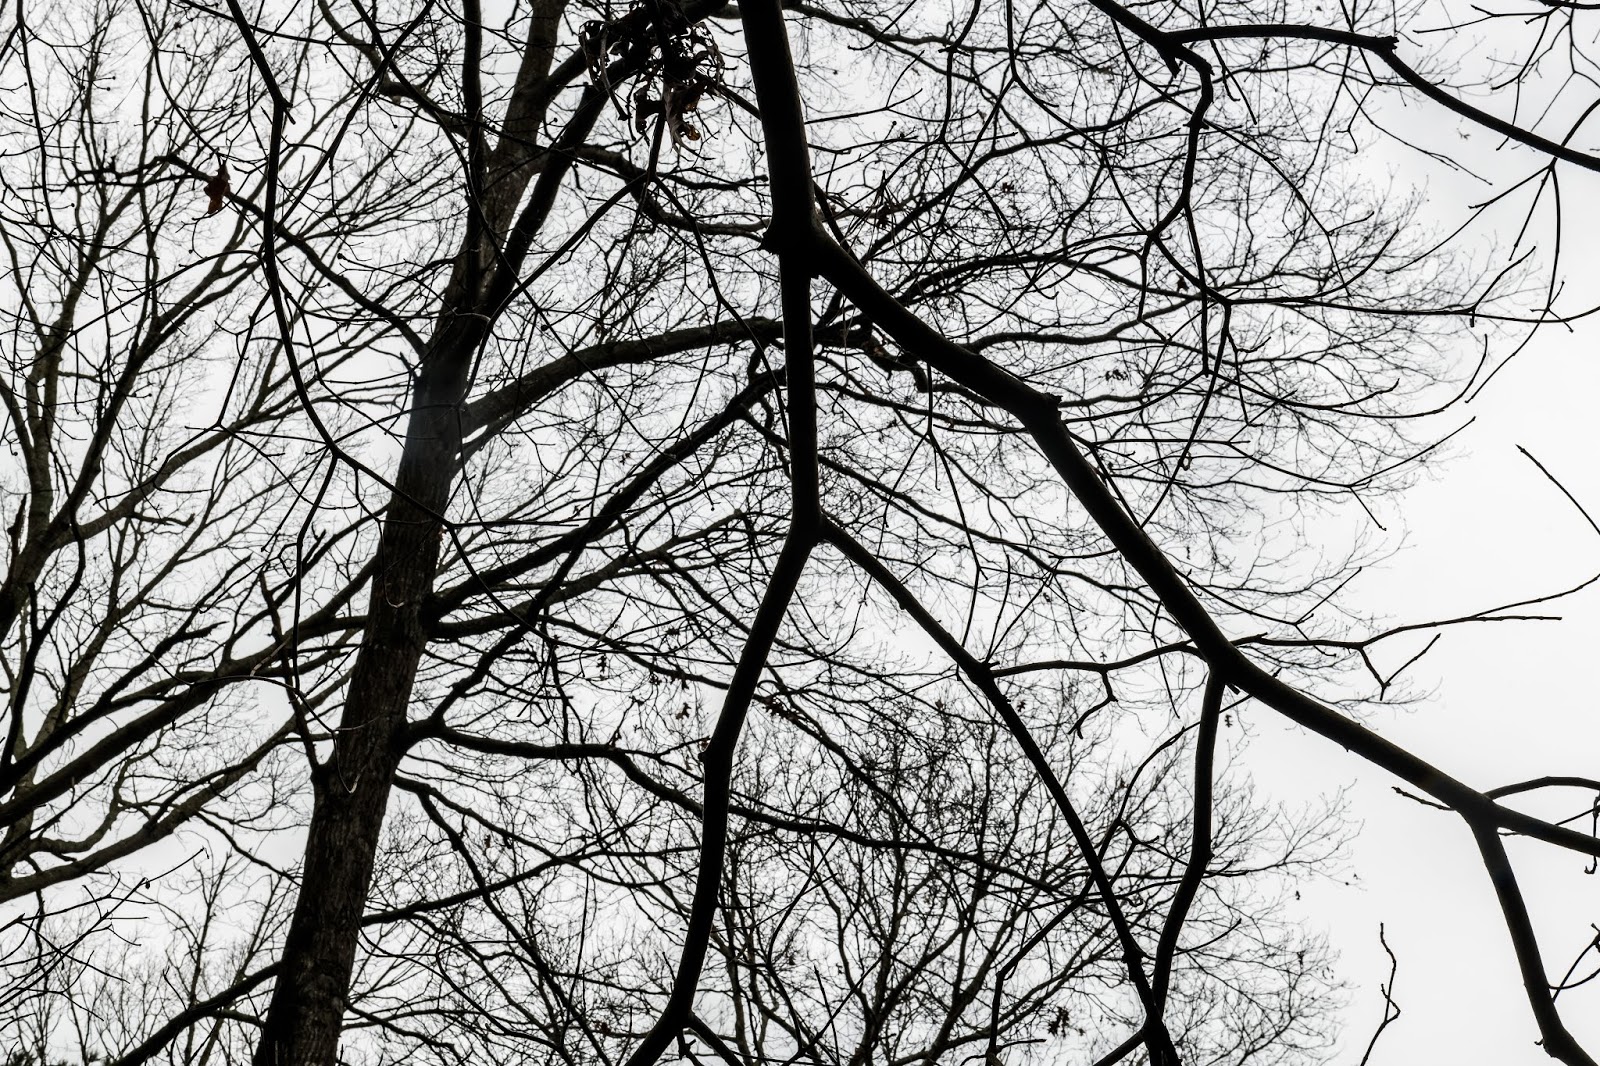
Let's jump into this post with That word in the title you may never have heard before, complexify. It shows on my editing screen with a red underline indicating that the dictionary has never heard of it. I have heard the word used only in it's current context which is photo editing. While you may not have heard the word before it is pretty easy to figure out. It means to make more complex or more completated.The photo to the right was taken some time ago and is an HDR image. It is composed of 5 exposures from 2 stops under exposed to 2 stops over exposed. Using Photomatix I attempted to create an image that looked realistic and similar to the way it looked to my eye at the time it was taken. I did a series of images of the Salisbury Maryland downtown and this was just one of those images. I looked at this shot many times and always liked it and began experimenting with what, to me, was a new technique in Lightroom "complexifying light".
One of the tools available in Lightroom on the Tool Strip at the top of the Adjustment Panel just above the "Basic" heading on the right side of the screen is the Radial Filter, the fifth tool which has the symbol of a plain circle. If your histogram is displayed, the Tool Strip is just below it.
 In the Develop Module click on that Radial Filter then point to anywhere on the photo you are editing (for convenience, not too close to the edge) then press and hold the left mouse button and drag the mouse pointer diagonally
 . A circle or oval will appear. When you let go of the mouse button the circle, or oval that you have created will remain. One other thing that happens is the menu on the right appears at the top of the menu area on your screen. There is a group of 16 sliders that will look familiar to Lightroom users since all those sliders also appear in the Basic adjustments panel which has been temporarily moved down and now appears below the Radial Filter control sliders panel.
All of these controls work in the Radial Filter panel in the same way they work in the Basic Panel but they affect all areas of the image except what is inside the shape that you have created with the Radial Filter tool. In our current example we would like to control only what is inside the shape you have created and not the rest of the image. Near the bottom of this panel you will see a check-box in front of the word "Invert". Clicking the there will place a check-mark in the box and now any sliders you adjust will affect only what is inside your shape, not outside.
The slider above the Invert check-box, labeled "Feather" makes the change from the outside of your shape to the inside occur more gradually. Most of the time you would like the change to be gradual so try setting the Feather control to somewhere between 50 and 100 (I usually stay at or near 100).
Now, let's complexify the light. One way is to start by darkening the entire photo with the exposure slider moved to the left between 1/2 and 1 stop. Now look at your photo and find an area that is just a little brighter than the areas around it. Using the Radial Filter tool, click in the center of that brighter area and drag the mouse and maneuver it so that the entire brighter area is inside the shape you've created. Let go of the mouse button and adjust the Exposure slider to make your slightly brighter area to be just a little brighter than is was.
You have now complexified the lighting by making one area more different from it's surroundings than it was before you started. The lighting is "more different", therefore "more complex". Now select other slightly brighter areas and make them also brighter than they were. The difference should be subtle not obvious. Next we'll do the same process but, this time by selecting areas that are slightly darker and making them even more darker. You will have increased the contrast of the image but not everywhere, just in the places you have selected.
If you have been careful and made just small adjustments your image should now have more "pop".

Many adjustments can be made either inside or outside the oval you have created and you can make as many ovals as you'd like. You can adjust each one as you create it and make each one lighter or darker or make any other changes that are available in the sixteen sliders. You may want to search for instructions on the Radial Filter where you will find many more ideas for it's use.

